How to Photograph Nocturnal Wildlife in Infrared
What is Infrared (IR) Photography?
Light that comes from the sun consists of a very wide spectrum, and when we look at the world around us we are only seeing it in a very narrow part of this spectrum known as ‘visible light’.
The sensors inside digital cameras are capable of seeing our surroundings in more than just visible light. They can actually record images in parts of the spectrum that are invisible to most animals’ eyes – this includes infrared light, or ‘IR’ light for short.
If you’re just interested in taking normal colour photos, then you don’t want your camera’s sensor also picking up lots of other types of light as well, so usually camera manufacturers place a filter over the sensor to effectively cut out all of these other types of light. This leaves only the visible light to pass through and reach the sensor. However, sometimes there might be good reasons for allowing your camera to take photographs in the infrared spectrum, the two most common being:
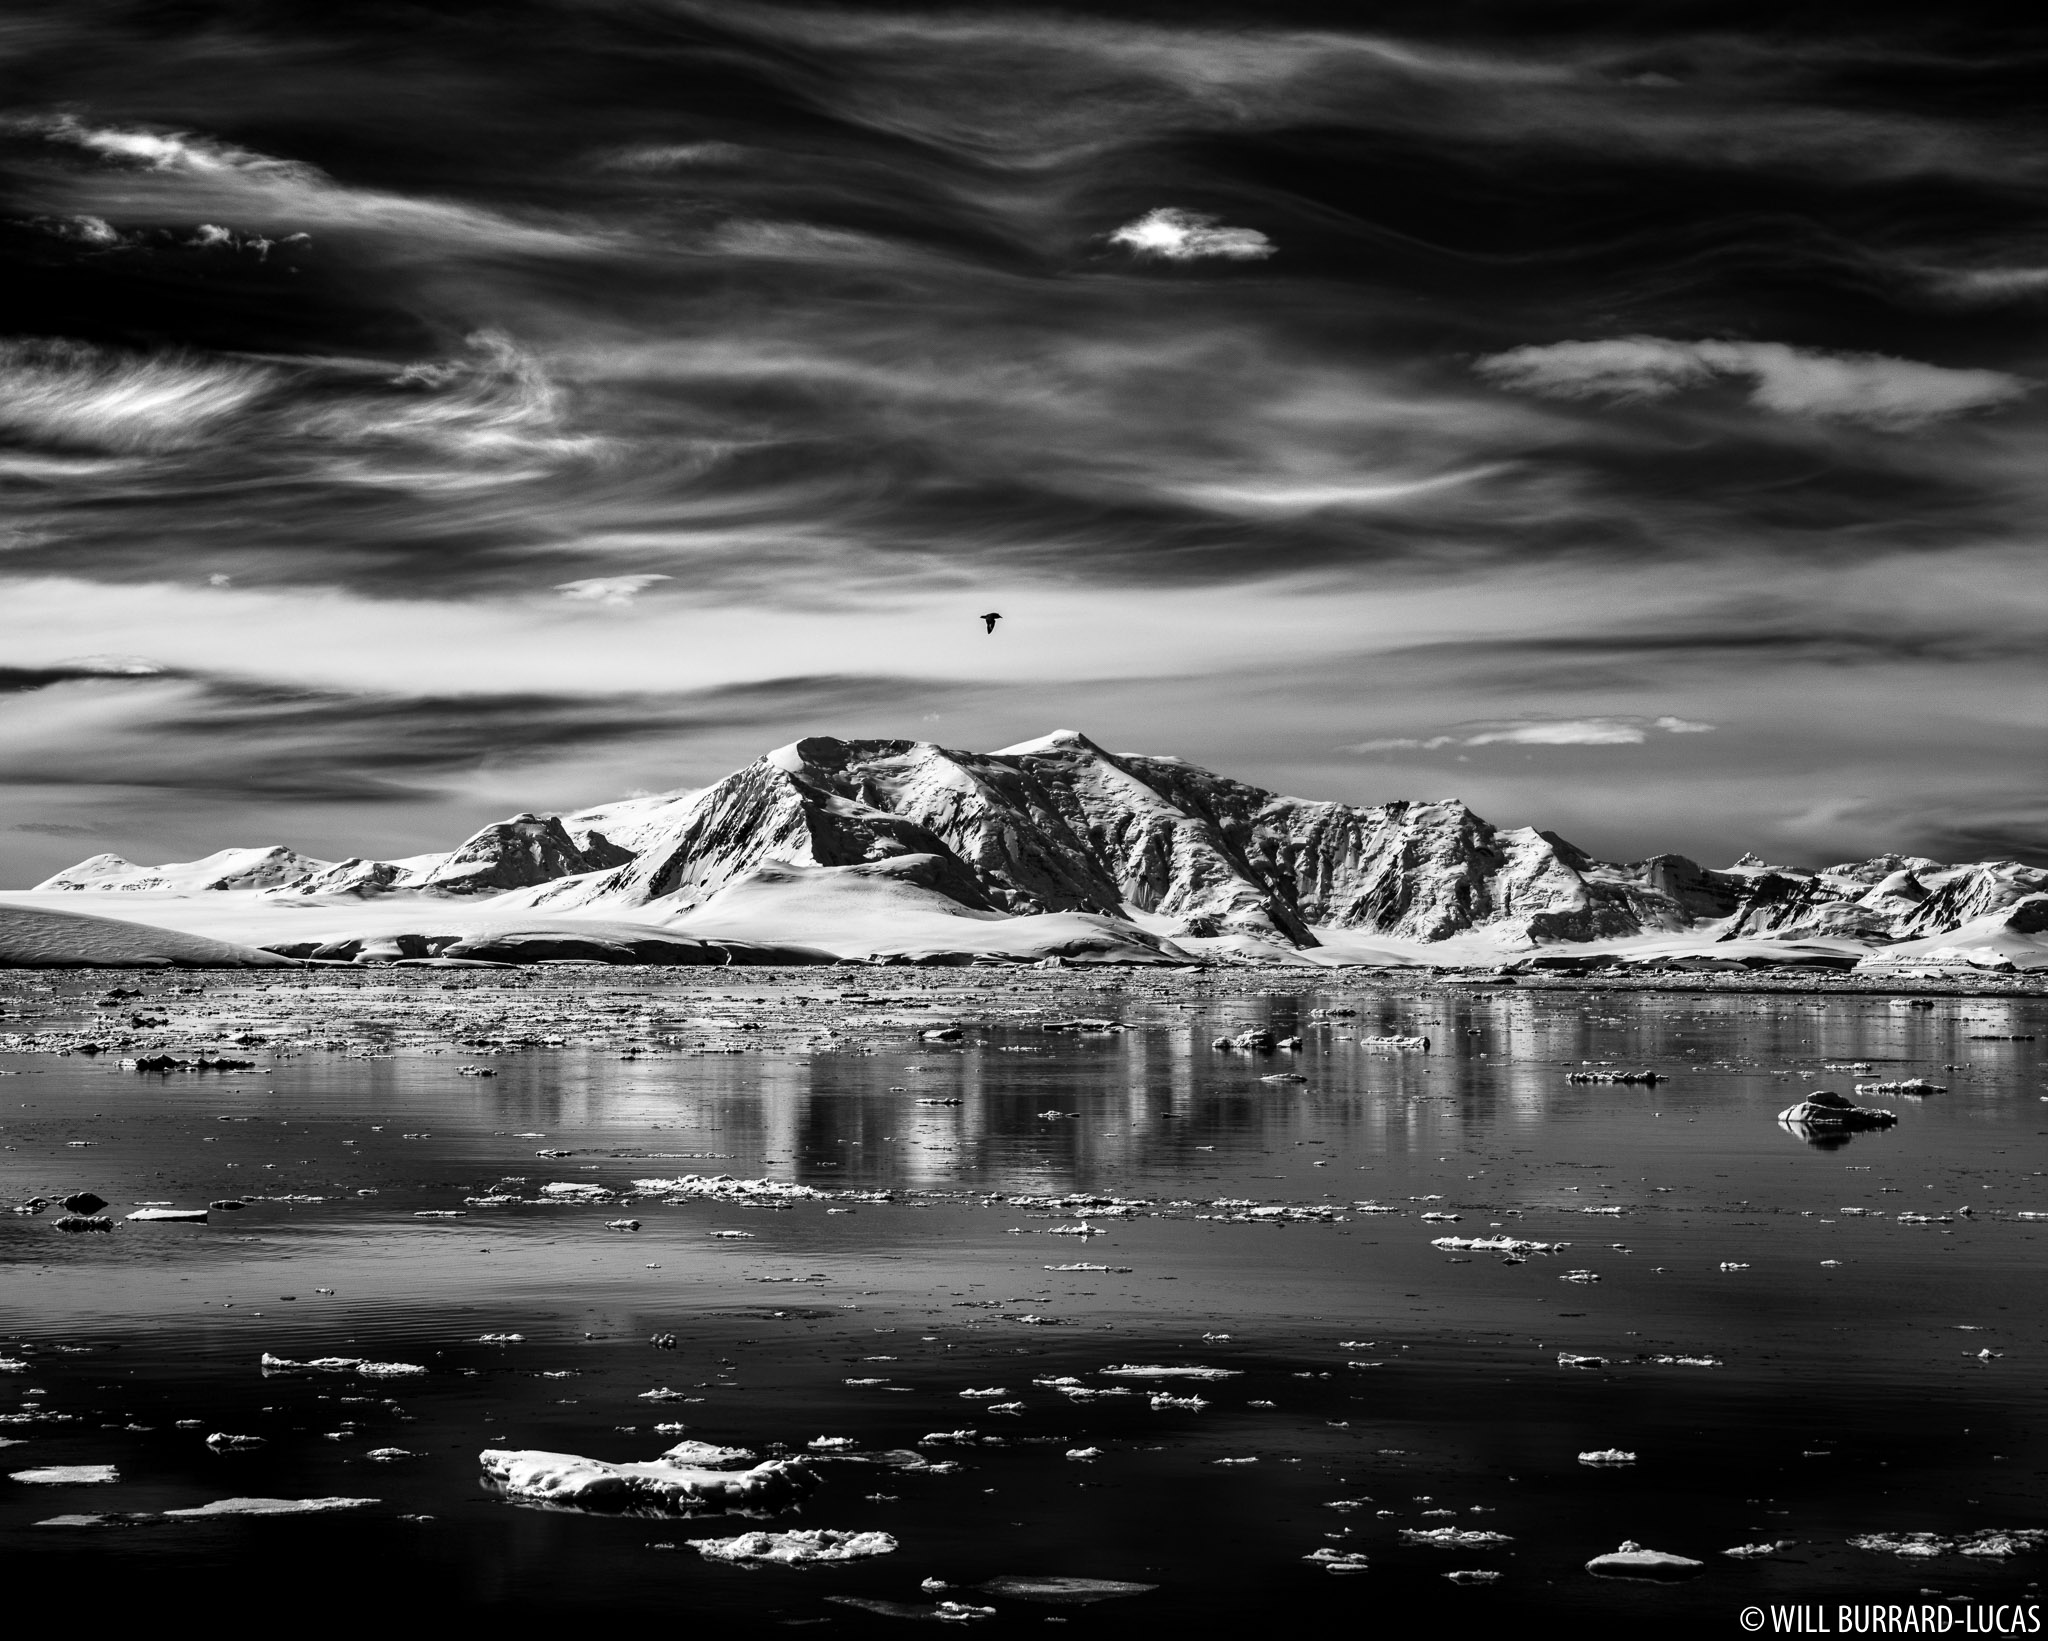
1. Photos of outdoor scenes take on an interesting, high contrast, ethereal look.
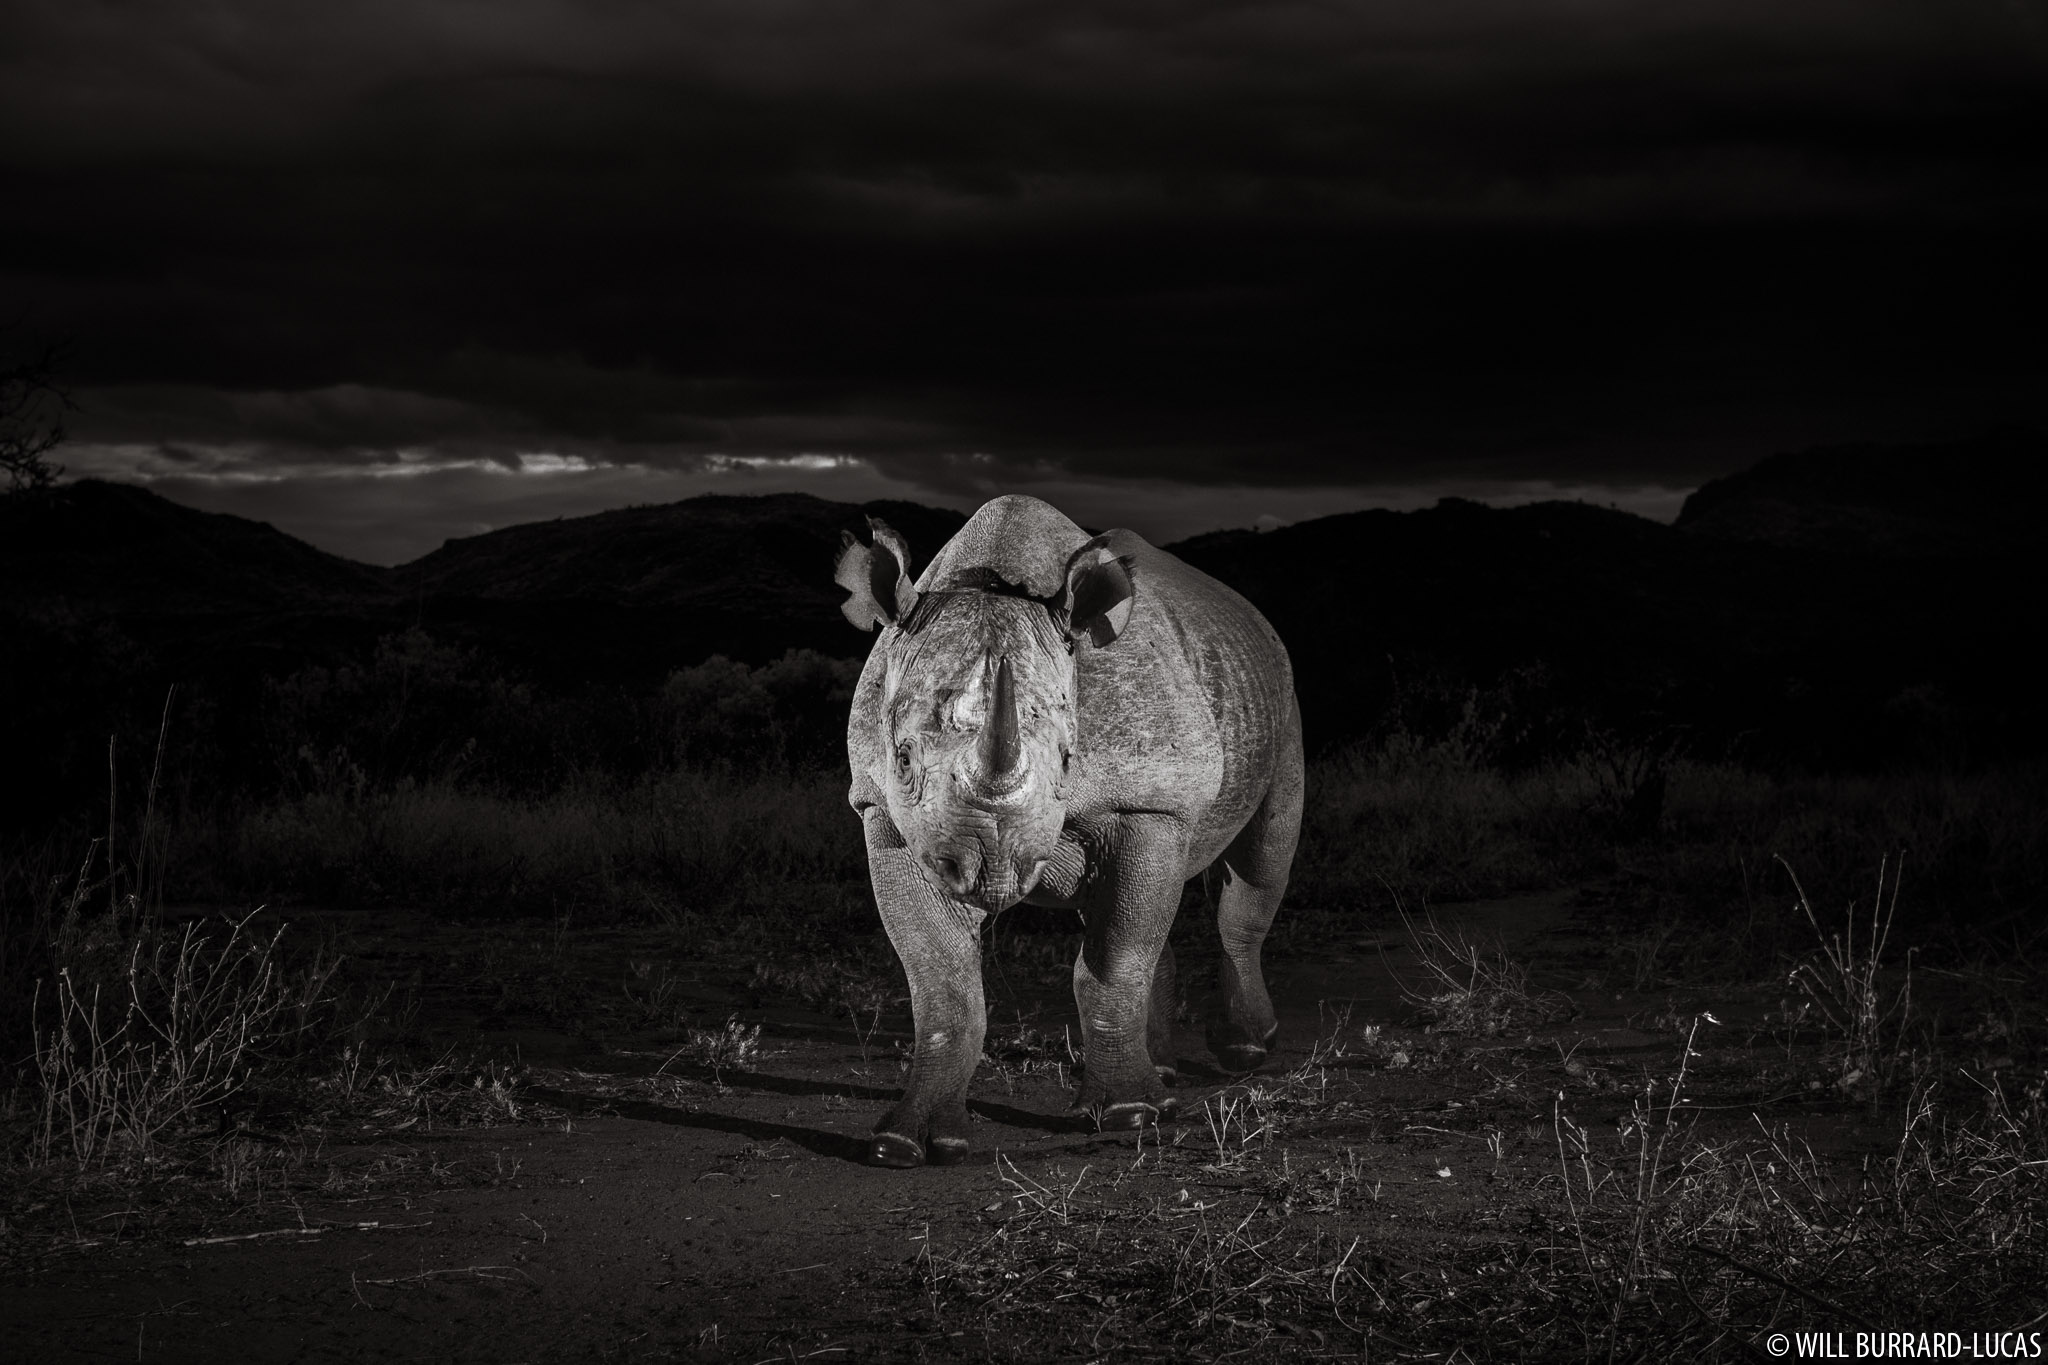
2. Some nocturnal wildlife can be very shy or have very sensitive vision, so photographing these animals purely in invisible infrared light can be much more sympathetic.
Infra-red images will usually look red and white when they come out of the camera and are therefore usually converted to black and white in post production.
Infra-red light behaves in a slightly different way to normal white light and it is absorbed and reflected by different surfaces to your standard visible light. Infra-red photography can give other-worldly images and this can be applied very effectively with wildlife and landscapes. Most noticeably, trees and foliage reflect infra-red light very well and become quite bright. Skies and water do not reflect the IR light and come out dark.
If you are just planning to photograph landscapes or non-moving subjects in infrared then this can be done with very little extra equipment and for low cost. The essential piece of kit is an infrared screw-on filter for the end of your lens. These filters cut out all of the visible light, leaving just the infrared to pass through to the camera’s sensor. You might be wondering how this will work given that your camera still has the hot-mirror filter in place to cut out the IR light too? The key point here is that the hot-mirror filter is not 100% effective at cutting out all of this infrared light and a small portion still manages to get through.
So, with the IR filter on the end of your lens and the hot-mirror filter on the camera’s sensor, only a very small amount of IR light ends up reaching the sensor meaning you have to use really long exposure times (e.g. over 30 seconds) to be able capture well-exposed photos. This clearly won’t work if you want to try and photograph anything that is moving.
To photograph wildlife in infrared is a bit more complicated, because you need to have the infrared filter removed from the camera’s sensor. This allows much more infrared light to get through to the camera’s sensor and faster exposure times can be achieved, opening up the possibilities of photographing moving subjects such as animals.
If your plan is to take IR photos of wildlife during the day then you will still need to place an infrared filter on the front of your lens (or in place of the IR filter on the sensor) to strip out the visible light. However, if your goal is to photograph nocturnal wildlife (when there isn’t any visible light around anyway) then you don’t need this extra filter on the lens and you can just make do with getting the IR filter removed from the camera’s sensor.
Why take night time photos of wildlife with infrared camera trap?
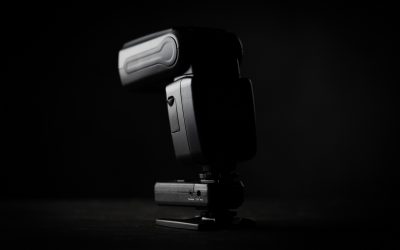
Usually when we take photos of animals at night, we have to rely on powerful speedlight flashes (otherwise known as strobes) to provide bursts of artificial light. This provides enough light to then be able to record a well-exposed image.
Nocturnal wildlife can often be very shy and easily disturbed, which makes it more difficult to photograph with these bright flashes of light and it also means that we should be more sensitive towards these animals to avoid negatively impacting their behaviour. Added to this, some nocturnal creatures such as owls have very sensitive vision and bright flashes of light could affect their vision.
Photographing these sorts of creatures with infrared light reduces our impact on them and can also increase the chance of capturing successful images.
Are there any downsides to infrared wildlife photography?
There are two main drawbacks when it comes to infrared wildlife photography:
1. Images captured in the infrared spectrum don’t have any colour to them and can only be processed as black and white photographs. This can be embraced as a creative effect, but some people might not be happy to lose the colour in their photos.
2. The process of having the infrared filter removed from inside the camera needs to be done by a specialist company. This modification usually costs a few hundred dollars, or you can buy a second-hand camera that has already had this modified for IR photography.

IR photography is great for photographing animals with sensitive vision, like this barn owl.
How to take photos of nocturnal wildlife in infrared
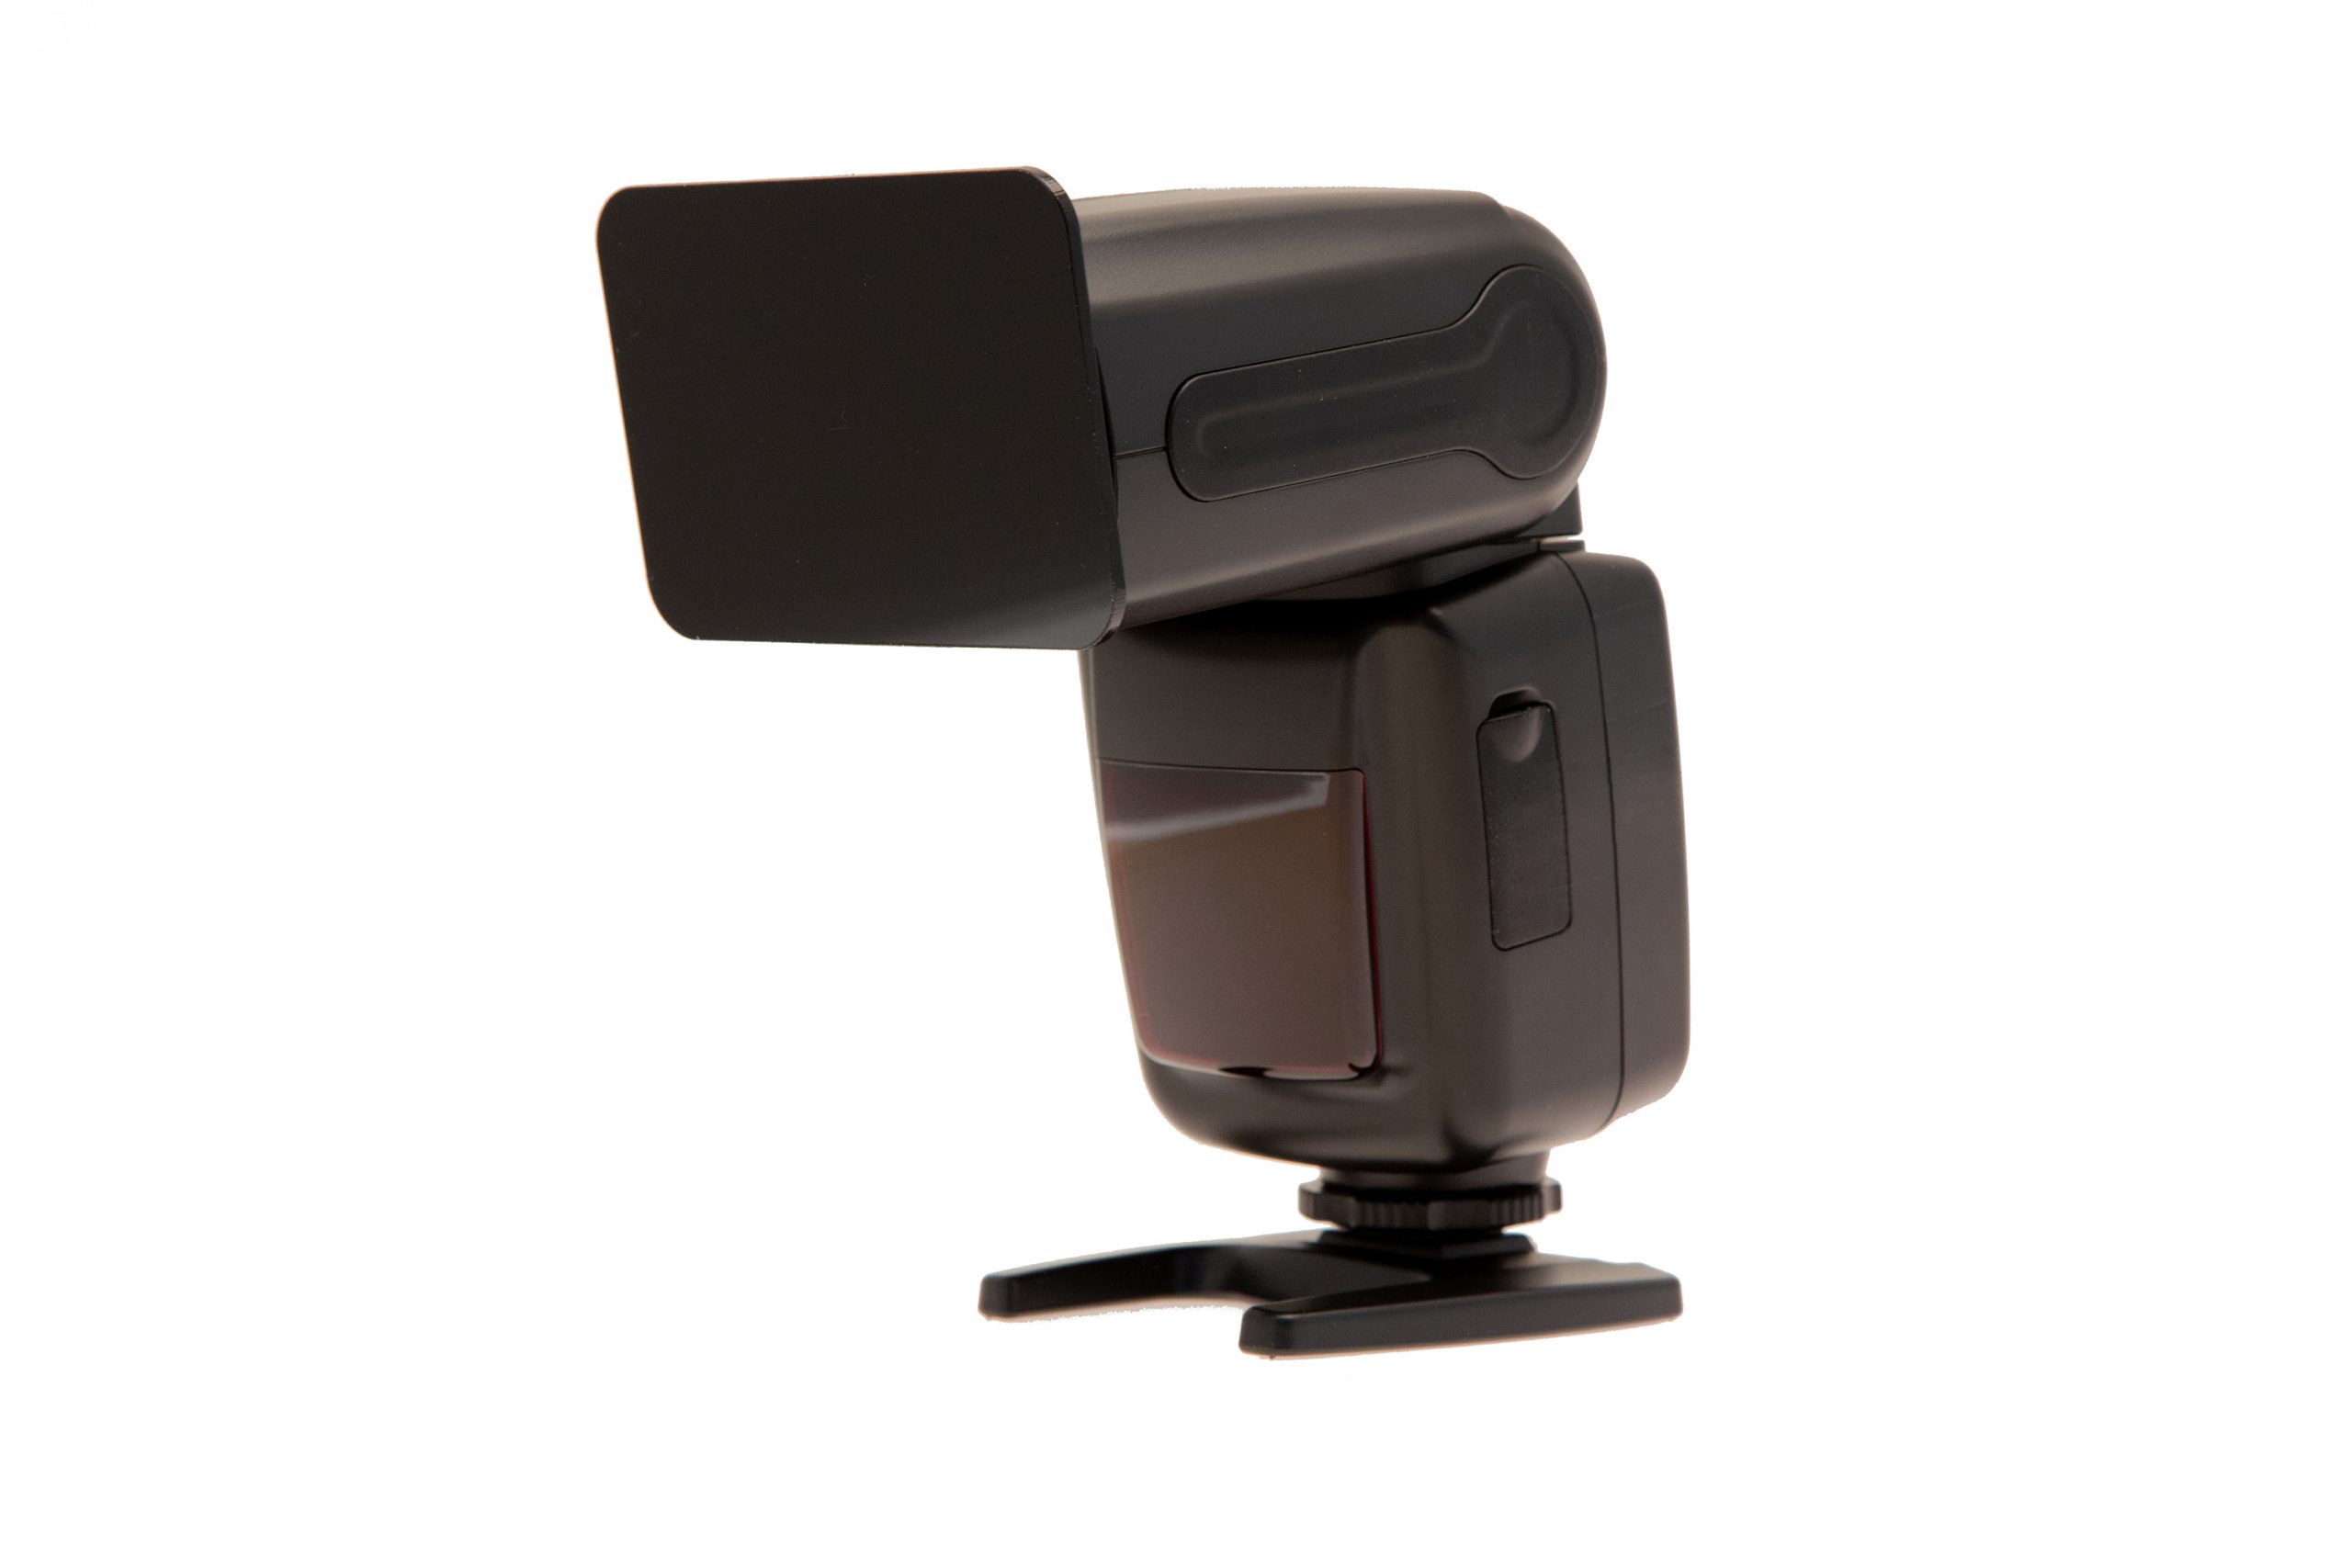
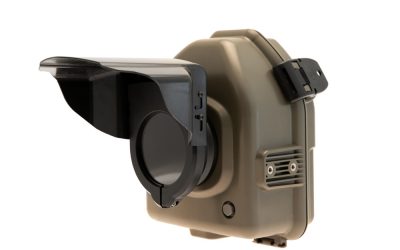
Speedlight flash with a Camtraptions Infrared Flash Filter attached.
The second step is to purchase a second-hand IR-modified camera or to send off your camera to an IR conversion company who can remove the infrared filter.
During this IR modification the original hot-mirror filter can be replaced by a new filter made of quartz (which allows all wavelengths of light through).
Alternatively, you can choose to get a specific type of filter put onto the sensor which means you permanently shoot in a specific infra-red band. Focus modifications can then be performed to allow your camera to autofocus, but you’ll need to commit to shooting in a particular spectrum if you do this. If you do not have a focus adjustment then you will need to use live view for focusing to ensure that your images remain sharp.
Conclusion
If you want to be able to take photos in infrared, you will need to place filters over your flashes and you will also need to have your camera modified to remove the infrared filter. Taking photos in infrared can be a great way to capture black and white images of very shy or sensitive nocturnal wildlife and it is a technique that can be easily used in camera traps. Infrared camera trapping is becoming increasingly popular and there is a growing trend towards photographing certain animal species in this way.
Recent Posts
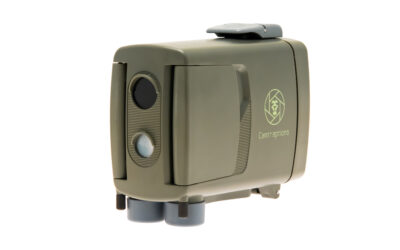
Introducing the PIR Motion Sensor v4
After six years of development, we’re proud to unveil the next generation of our camera-trap sensor — the Camtraptions PIR Motion Sensor v4. Completely redesigned from the ground up, the PIR v4 makes camera trap photography faster, easier, and more reliable than ever...
Flashes for Camera Traps
Introducing our new flash ecosystem for camera trap photography! This now includes solar panels which can be used to keep your flashes running indefinitely.Our flashes have the convenient form-factor and familiar features of a traditional speedlight but built from the...
Announcing our new weather-sealed camera housing
Our new moulded plastic enclosure is strong, versatile, easy to use and completely protects your camera from the elements! It is intended for use in a remote, camera trap and time lapse set-ups. The housing fits a wide range of camera and lens combinations while...